rogruth wrote:Dave,
That front coupler looks great to me. I'm sure the Kadee guys would hate it but I have always like the standard Lionel claw. It works for me.
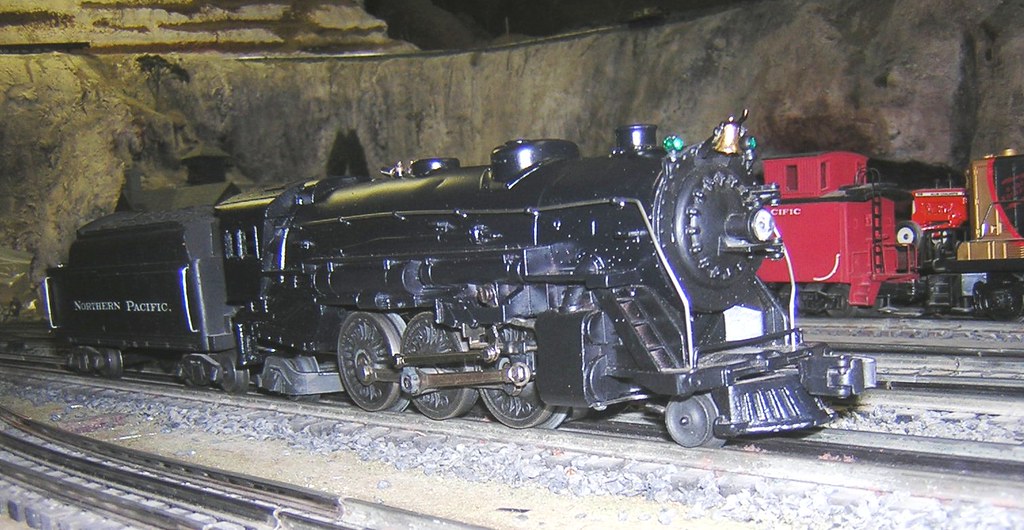
You have probably shown a how to in the past but a new one might be helpful to some on how to do the front coupler.
What ever the process is, I guess, would be adaptable to other models. Not necessarily other brands.
Are some models easier to adapt than others?
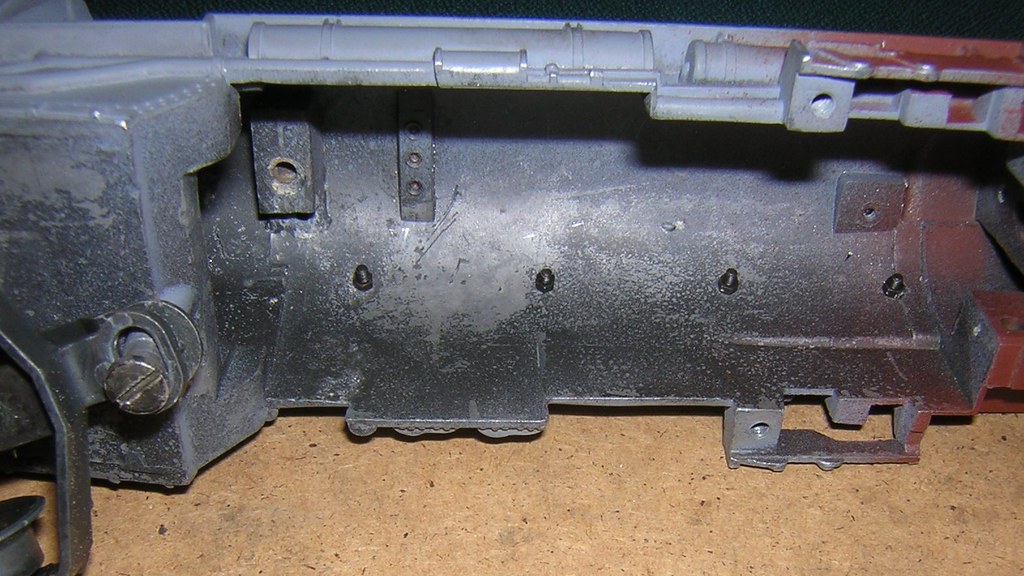
Some are, some are not. This one...you have to cut a slot in the casting....fabricate a shouldered screw, new coupler bar (I use old 1110 or so main rods). My buddy used brass, they bent far too easily.
The best coupler is a wire-wound, cut off the tower that the wire is spooled on, leaves a perfect hole to epoxy the coupler head onto.
Hours and hours of work.
I wanted to get this one done this year so all the parts were hovering in the same general location.
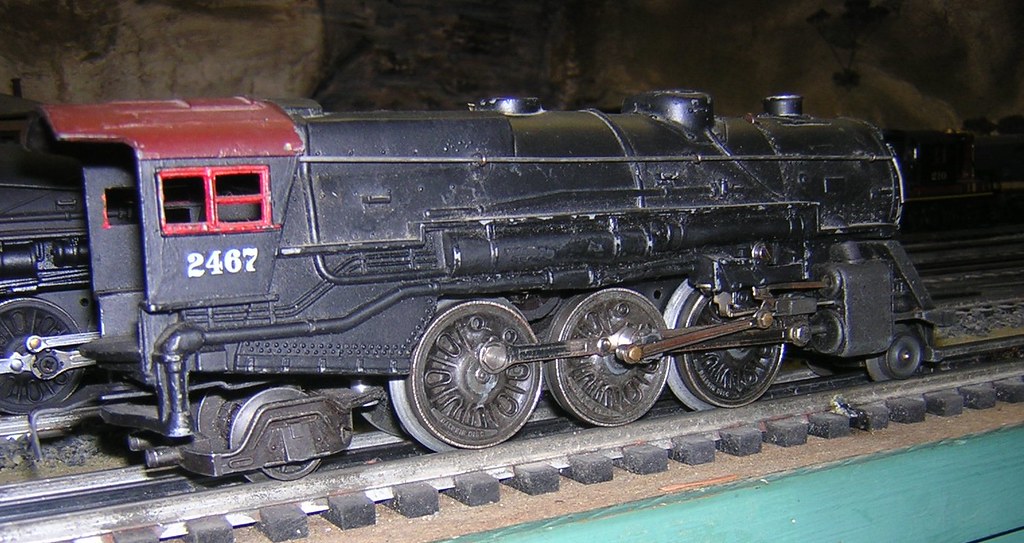
The NP GP-9's I have..one original, the other two most likely repro shells on postwar chassis.
One was fixed couplers. Easy to fix that, just ordered the parts!
Those two have prototypical numbers, QSI reversers, wired to run long hood to long hood, but will run totally independently.
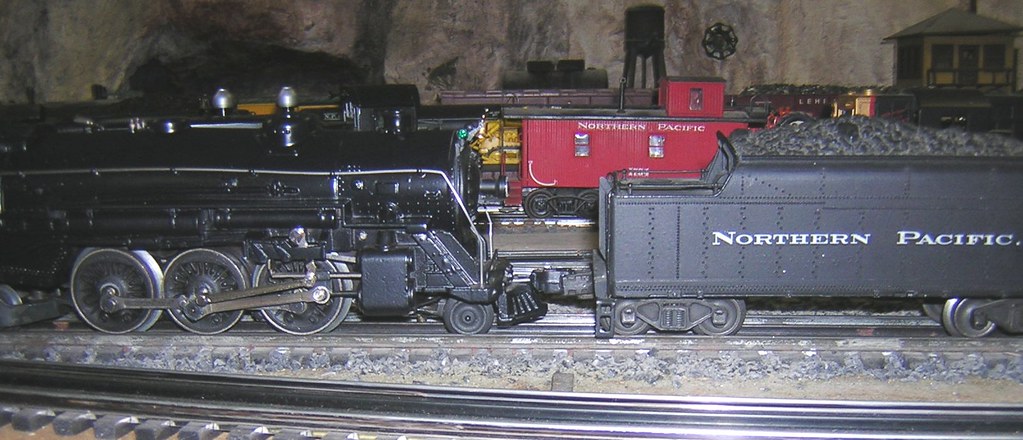
I have a..oh, 665/ 2065? Baby Hudson, I picked up from a dealer for ten or fifteen because it had been "messed with". Cowcatcher cut off, brass one installed, add-on air pump, whistle, dynamo.....i just mounted a coupler, sort of like this, in the slot provided in the brass cowcatcher. Run it double-headed with a (fairly) stock similar unit, hauling my heavyweights.
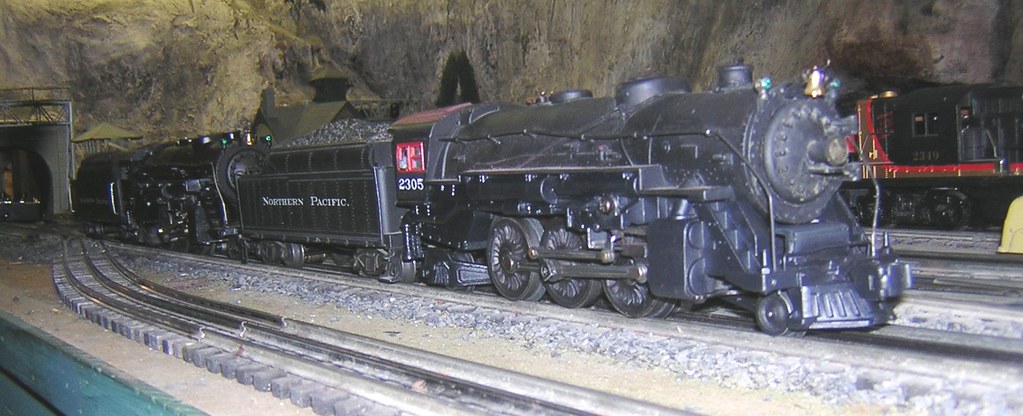
Then I was given another, it just sits beside the branch line engine house....someday I'll mess with it!
This is to show some actual modeling work is occurring.
I also realized I need to put the cab back into this one. Filed it to fit better tonight. I'll get to it!